Set Up Jekyll
This guide will walk you through hosting a page on a custom domain for free through GitHub Pages
Click here for GitHub docs
- You will need the Jekyll Prerequisites for this guide
- I chose to go with the Chripy theme because it fits most of what I wanted in the template. Dark mode and blog like were the 2 main things I was looking for. Minimal Mistakes was a very close second. In my opinion, Chirpy is much more complete on the publishing site. I really like how the author took the time to set up a preconfigured Dev Container and GitHub workflows. Also, the docs for setup are very easy to follow
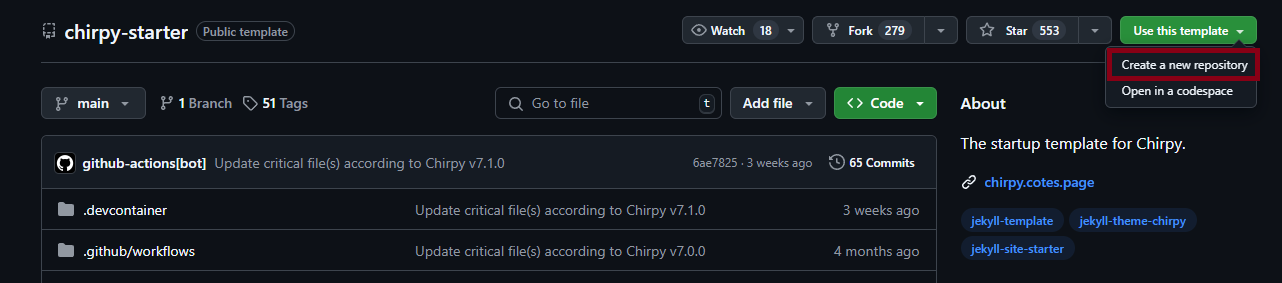
- From the starter repo choose Use this template, then Create a new repository
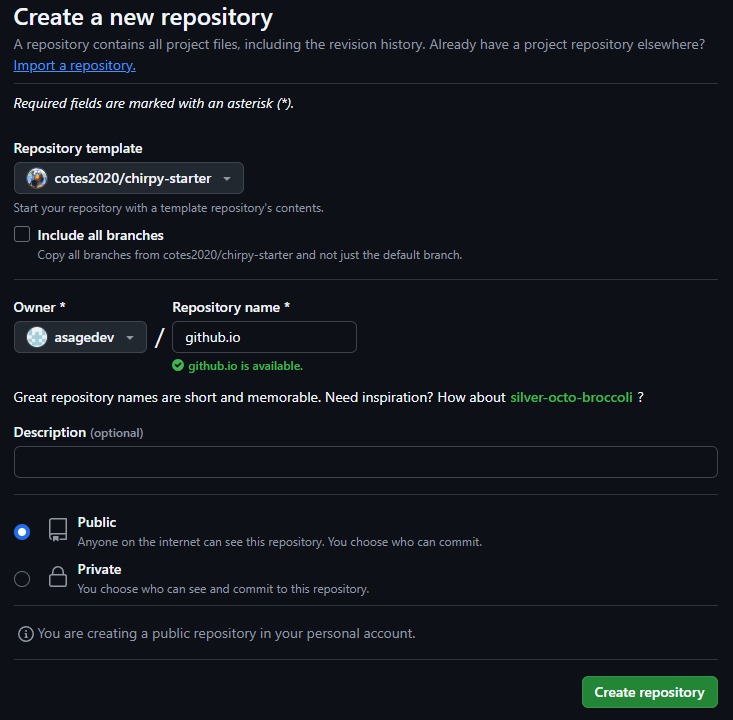
- Name it github.io and keep it public, then click Create repository
- Open Docker Desktop so the services that are needed for Dev Containers are started
- Open VSCode and clone the repo
- Create a local directory for where you want to store your GitHub repos
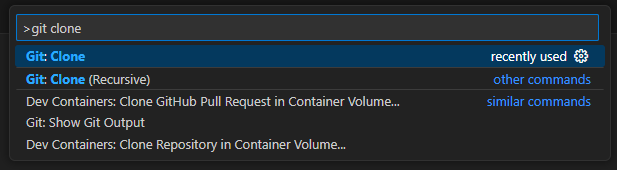
- Press
F1orCtrl+Shift+P(command palette) and type in git clone in the search bar - Choose Clone from GitHub
- If you haven’t signed in yet, allow VSCode to sign in to GitHub
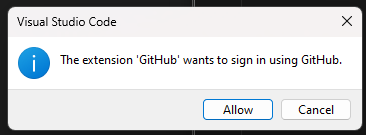
- Follow browser actions to log in
- Choose the repo we just created
github.io - Choose the folder you created. Cloning the repo will create a sub directory here with the name of the repo so as long as you don’t have conflicting names you will not have any naming issues
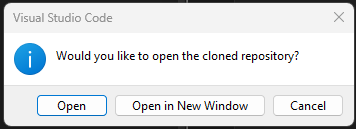
- Click Open to open the cloned repo
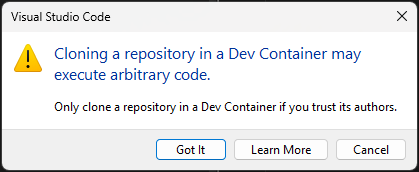
- It will ask you if you trust the authors, I hope you do
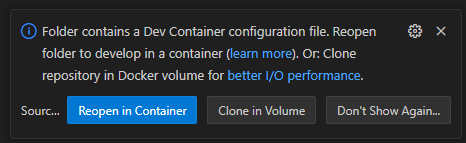
- You should see a pop up in the bottom right telling you VSCode detected a Dev Container config file and it will ask you if you want to use it. Click on Clone in Volume
I’m not sure how I managed to do this, but at one point I lost a bunch of changes I made. It seemed like the changes were only stored in the docker container volume and not in the cloned directory on my PC. When I deleted all the docker containers and volumes, all the changes went with it. I would recommend periodically opening the folder you created above with VSCode and sync it to your computer so you have a local backup just in case something happens, and when you are done with a change always commit it and push to GitHub. After this happened I did some tests and it seems like the directory I cloned to does in fact receive all the changes I make in the Dev Container so I must have broke something somewhere along the line
To reopen the repo in the Dev Container later, in VSCode open the local directory you cloned to, then click Reopen in Container when you get the popup above. You will need to Clone in Volume first before you can do this
- You will get a security pop up. As long as you’re not using Vlad’s template you should be ok
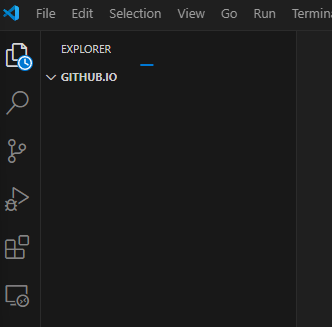
- You should see VSCode refresh. In the top left the you should see an empty explorer and in the bottom right it will tell you it is connecting to the dev container
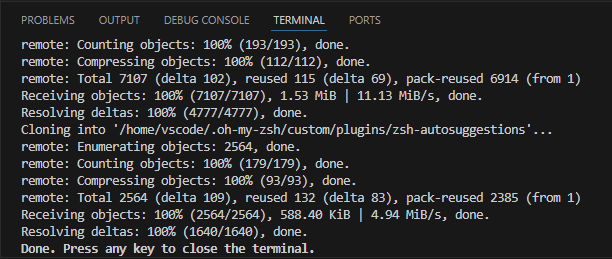
- If you click on
Connecting to Dev Containeryou can see the current Docker build process. After a little bit you should see all the files from your repo show up in the explorer and the Terminal will open to show you the Docker build status. Wait for it to get through all the steps and it will sayDone. Press any key to close the terminal.You can press a key to close if you want, we will reopen the terminal later - At this point everything you need to start making changes to your site is ready. The docs for config leave a bit to be desired, but fortunately the
_config.ymlis straight forward. Here are the main points to hit:timezone: Your/Time_Zone- Ex.
timezone: America/New_Yorkfrom https://kevinnovak.github.io/Time-Zone-Picker
- Ex.
title: Page Titletagline: Something fun- The line under description:
Something else fun url: "https://www.your.domain"- Under github:
username: GitHub.user # change to your GitHub username
- Comment the Twitter account with #
- Under Social
name: Your Nameemail: email@address.com # change to your email address- Links
- Comment Twitter account line
- https://github.com/GitHub.user
theme_mode: dark # [light | dark]- !!! Project for later, set up Site Verification Settings, Web Analytics Settings, CDN, and Comments !!!
- Save the file
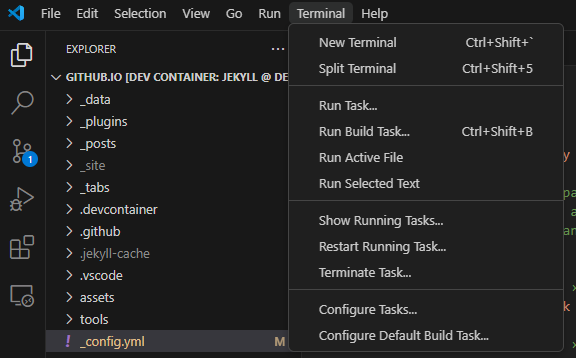
- After you save you should see an M on
_config.yml. This means the file has been modified locally but has not been committed. We will want to test these changes before we do that, so click Terminal and thenRun Build Task...or pressCtrl+Shift+B - You will see the Terminal open up again and when it’s done building you’ll get a popup to Open in Browser. Click the button to see what your changes did to your page
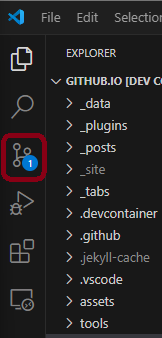
- Once you are happy with your changes, click the Source Control button on the left, or press
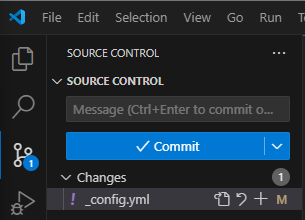
Ctrl+Shift+G - Make sure the only files you changed are the ones listed. If there is something other than
_config.ymleither revert it or modify the commit message later in the guide - Click the + on the line for
_config.ymlto stage the changes, then you can close the editor for_config.yml. Staging tells git we made a change to the file and want to commit it. If you don’t stage anything, VSCode is smart enough to ask you if you want to stage and commit everything at once - Open the file
Gemfileand add this line to the end of the filegem 'jekyll-compose', group: [:jekyll_plugins]to install Jekyll-Compose. This Jekyll plugin will be used to create templates for new posts, pages, drafts, etc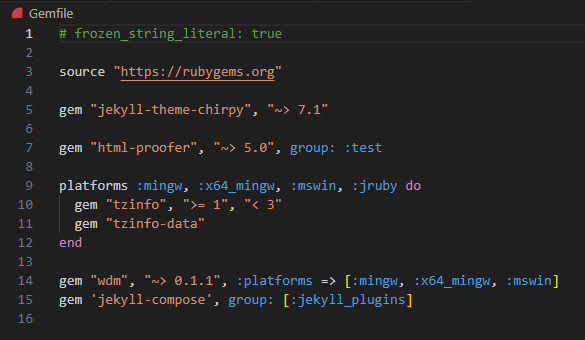
- After you save the file, open a normal terminal with
Ctrl+Shift+`and type inbundle installto install it 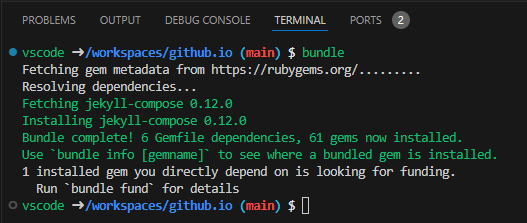
- Go back to the Source Control and stage the changes for
Gemfile - Open the terminal again and enter the following command to generate a new post
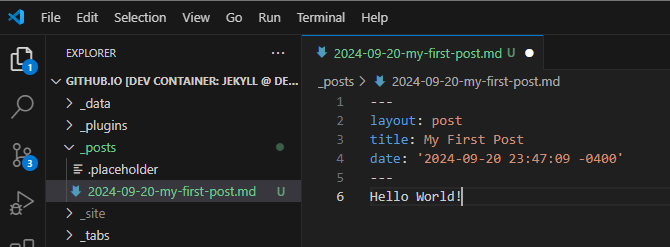
bundle exec jekyll post "My First Post" --timestamp-format "%Y-%m-%d %H:%M:%S %z" - Open the new post and add some text
- Run the build task again and refresh your browser page to test the change. If you still have one running from before it should automatically detect the changes and rebuild. If not, just click the trash can icon to stop the container, then run the build task again
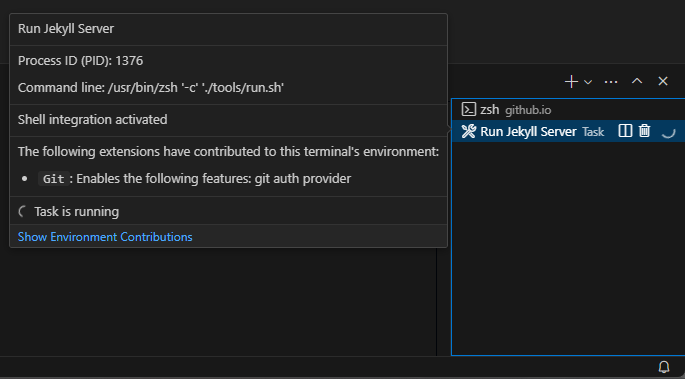
- The line above
Run Jekyll Serveris the terminal for the container. You can close and reopen terminals as you need them as well, but it’s pretty rare to need the terminal
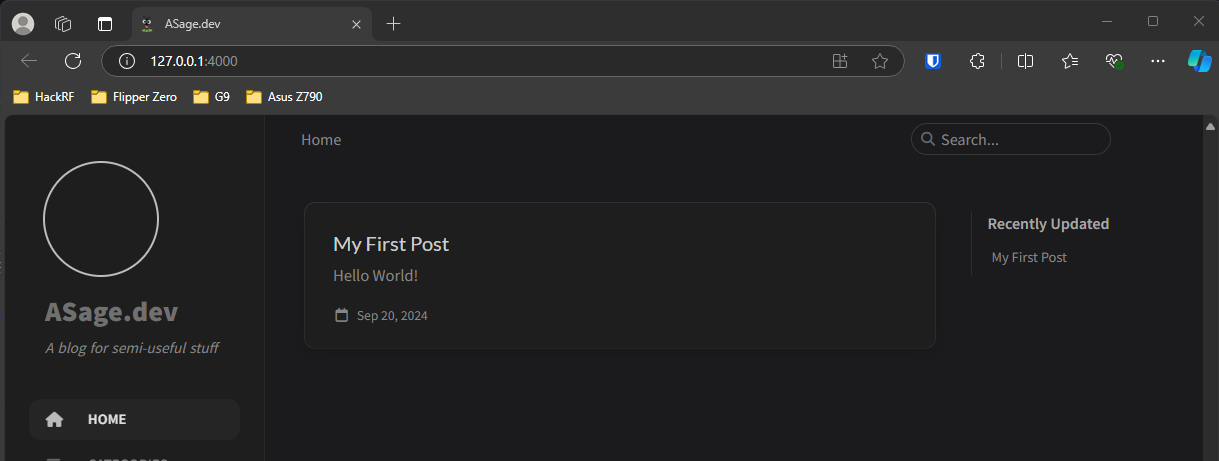
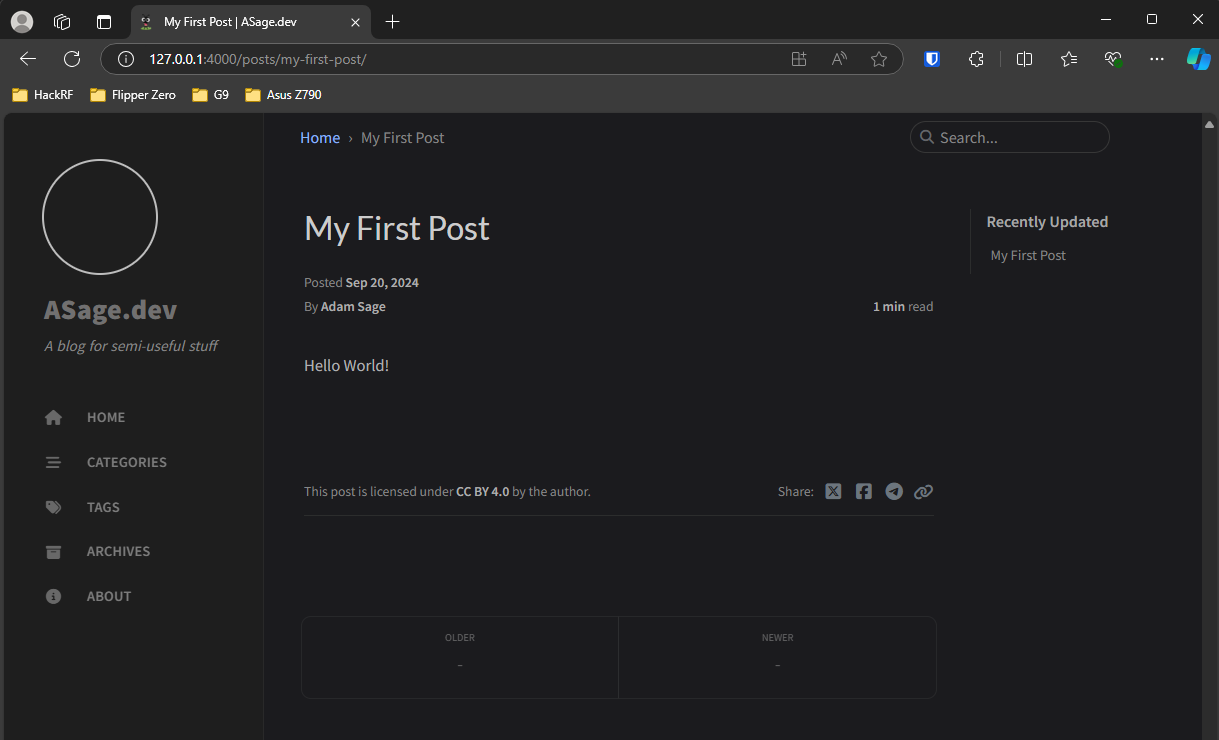
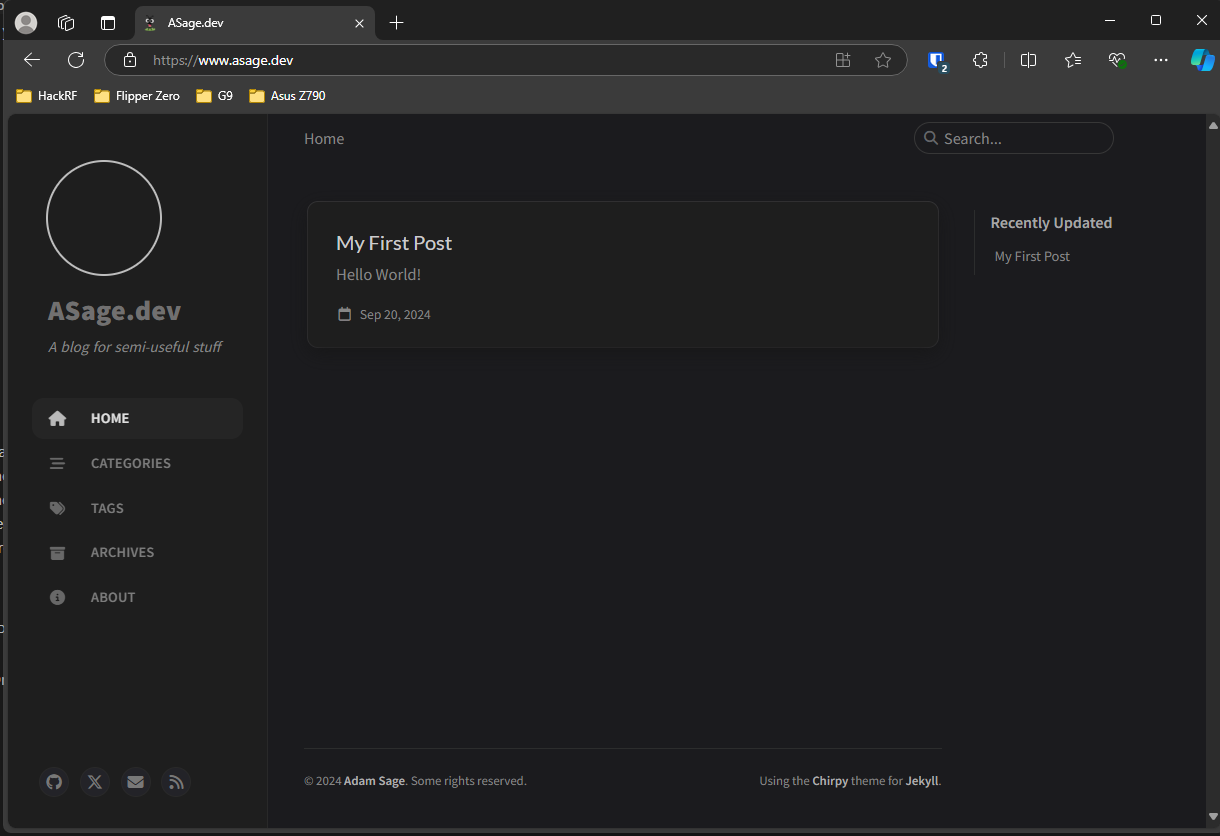
- You should see a new post on the home page, and you should see the post after clicking it
- Go back to the Source Control and stage the changes for the file that was created for your post. It will start with the date and have your post title
- Set up the Pages settings for the repo
- If you’re not using Linux, run this command in your terminal in VSCode
bundle lock --add-platform x86_64-linux - If you are happy with your changes, go ahead and commit them and push to the repo:
Pay attention to the bottom right. If the Prettier icon is red you likely have a formatting error

Click the red icon to show you where the issue is. Scroll up until you see the error
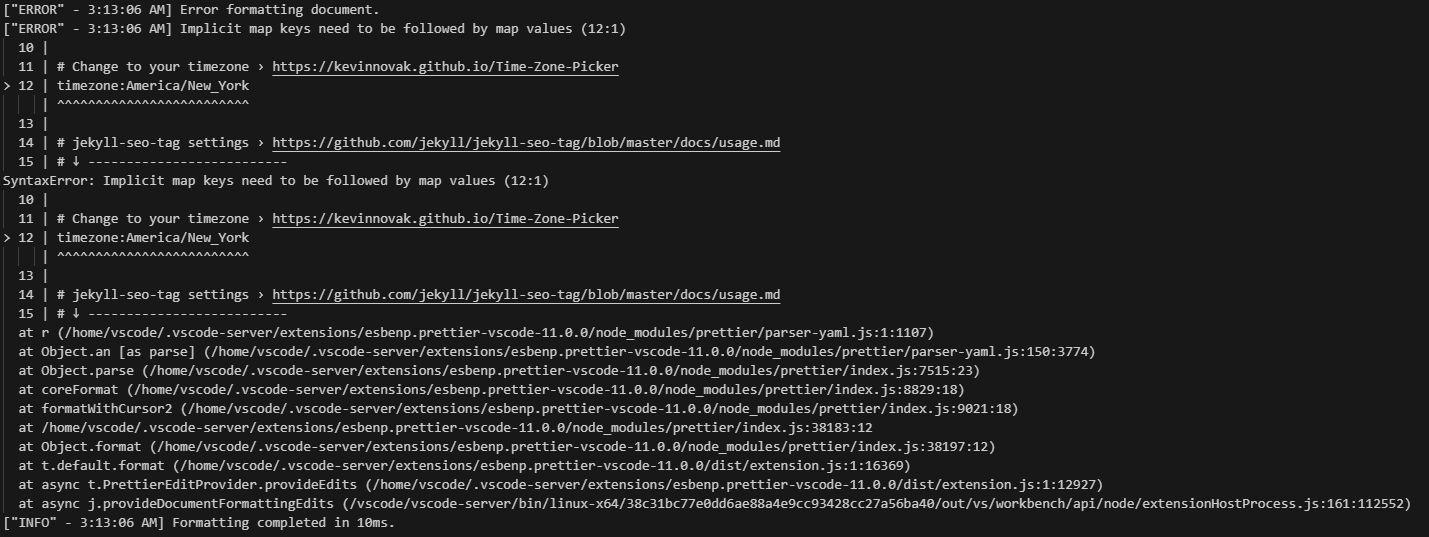
When you fix the error, resave and the red icon should go away. Prettier checks are triggered on saves - Enter a descriptive message for the commit, for this simple commit
Set up config and publish first postwill be good. - Click the Commit button and enter your GPG key - you should have Commit Signing set up
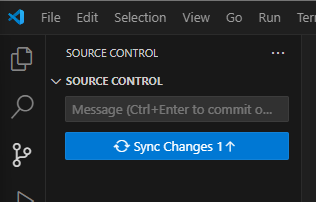
- After the commit is complete, sync changes to the remote repo (GitHub). You don’t need to provide a Message here, it will use your commit message from before
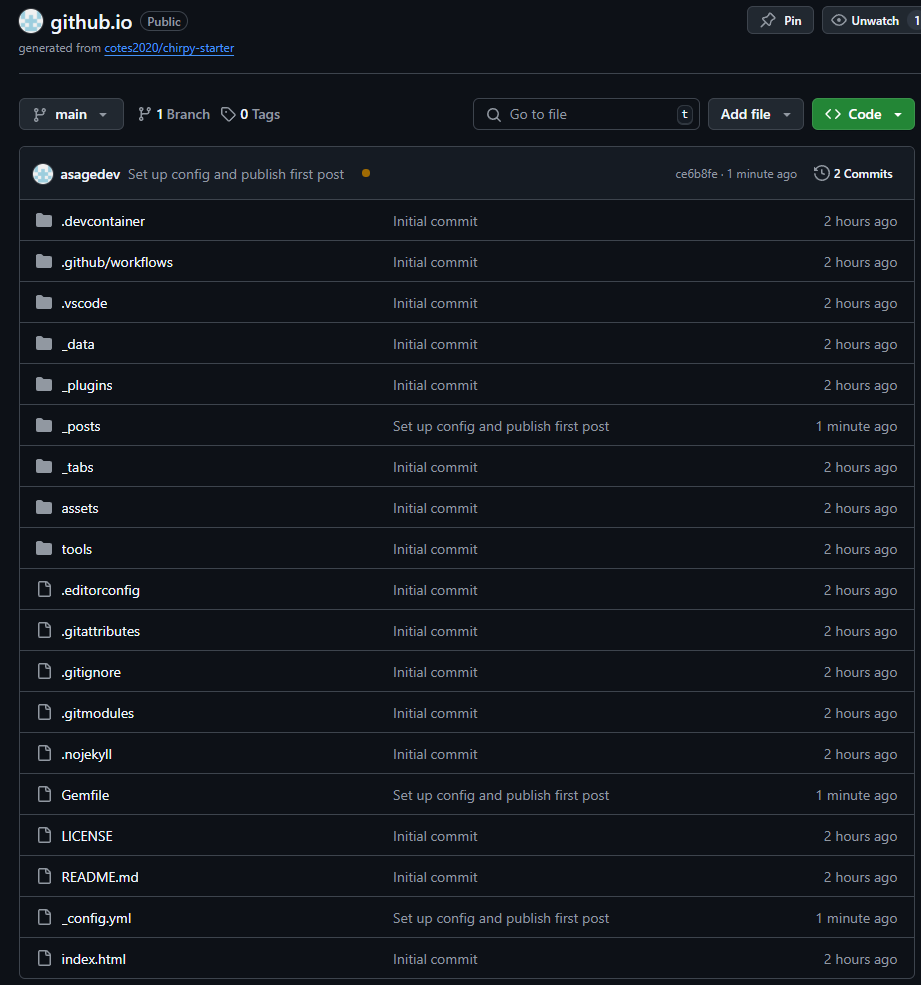
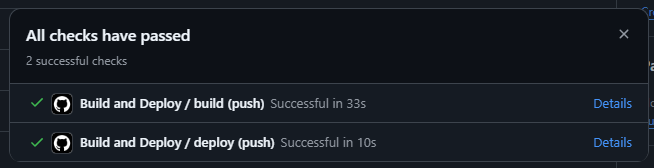
- Back on the GitHub repo, you should see some files now have a new commit message, and a yellow dot next to the latest commit message at the top. This dot means GitHub is building the changes. If you wait a little while and click it, you will see the status changes to Success or Failure and on a page refresh the dot will turn in to a green check mark or red x
- You can also see build status by going to Actions
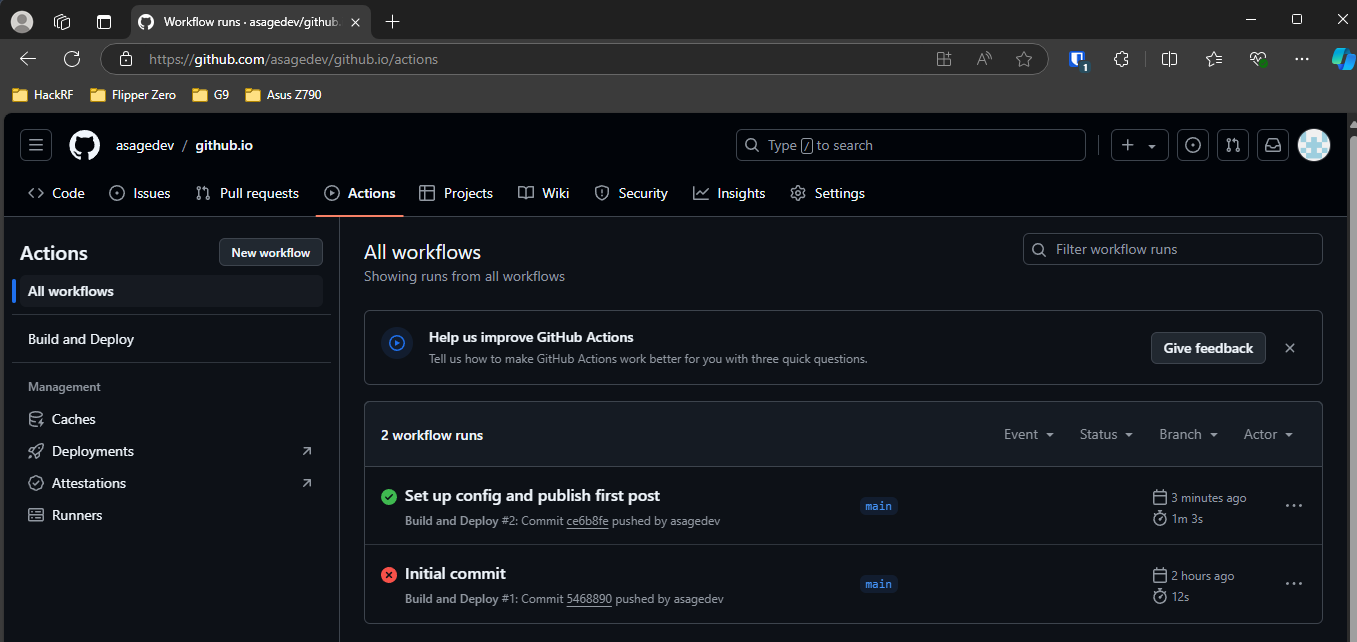
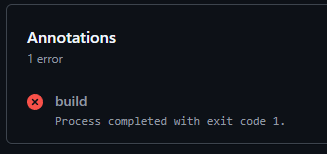
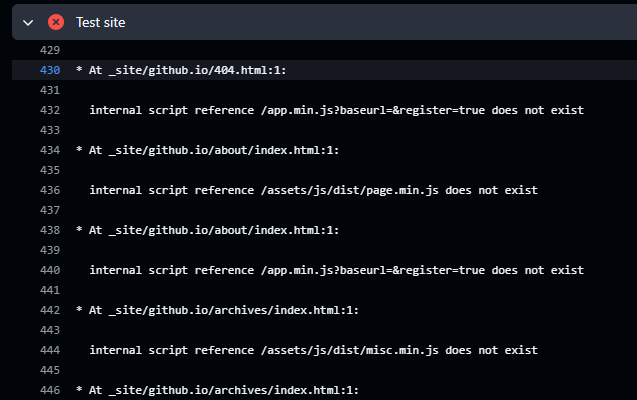
- You can see your build action errors by clicking on the commit name, then the error in the Annotations. The most common error will be links that are broken. The initial commit always fails because the config is not yet correct
- Once you have a successful build you should see your changes live on your site
- Add a plugin to make all external links open in a new tab
- Follow instructions here copied below as well, in case the page disappears
- I chose to not have my links be appended with
ref=site.comor thereltag so I modified the code a bit. Below is what I am using1 2 3 4 5 6 7 8 9 10 11 12 13
[:documents, :pages].each do |hook| Jekyll::Hooks.register hook, :post_render do |item| content = item.output site_url = item.site.config['url'] whitelist = [site_url, '/', 'localhost', 'mailto:', 'tel:'] # whitelist domains # Add target="_blank" to external links content.gsub!(%r{<a\s+href="((?!#{whitelist.map { |d| Regexp.escape(d) }.join('|')})[^"]+)"(?![^>]*rel=)}, "<a href=\"\\1\" target=\"_blank\"") # Update the item content item.output = content end end
- This is not in the code below so modify accordingly
- I chose to not have my links be appended with
- Create file
_plugins/external_links.rband paste in the code below1 2 3 4 5 6 7 8 9 10 11 12 13 14
[:documents, :pages].each do |hook| Jekyll::Hooks.register hook, :post_render do |item| if item.output_ext == ".html" content = item.output site_url = item.site.config['url'] # Add rel="nofollow noopener noreferrer" to external anchor tags and ref parameter content.gsub!(%r{<a\s+href="((?!mailto:|tel:|#{Regexp.escape(site_url)}|http://localhost:4000|/|#)[^"]+)"(?![^>]*rel=)}, "<a href=\"\\1?ref=#{site_url.gsub('https://', '')}\" target=\"_blank\" rel=\"nofollow noopener noreferrer\"") # Update the item content item.output = content end end end
- Explanation of the code above
- The
[:documents, :pages].each do |hook|line iterates over an array containing:documentsand:pages. This suggests it’s registering a hook for both Jekyll documents and pages. content.gsub!(%r{<a\s+href="((?!mailto:|tel:|#{Regexp.escape(site_url)}|http://localhost:4000|/|#)[^"]+)"(?![^>]*rel=):Uses a regex to identify external links (not mailto, tel, internal links, or anchors) and addsrel="nofollow noopener noreferrer"attributes. It also appends a ref parameter with a simplified site URL.
- The
- Whitelisting domains
- You may want to whitelist some domains. The whitelist array contains domains that should be excluded from having the
relattributes added. This ensures that trusted domains or local links do not have unnecessary attributes.1 2 3 4 5 6 7 8 9 10 11 12 13 14 15
[:documents, :pages].each do |hook| Jekyll::Hooks.register hook, :post_render do |item| if item.output_ext == ".html" content = item.output site_url = item.site.config['url'] whitelist = ['cloudinary.com', 'example.com', 'localhost', 'mailto:', 'tel:'] # whitelist domains # Add rel="nofollow noopener noreferrer" to external anchor tags and ref parameter content.gsub!(%r{<a\s+href="((?!#{whitelist.map { |d| Regexp.escape(d) }.join('|')})[^"]+)"(?![^>]*rel=)}, "<a href=\"\\1?ref=#{site_url.gsub('https://', '')}\" target=\"_blank\" rel=\"nofollow noopener noreferrer\"") # Update the item content item.output = content end end end
- Follow instructions here copied below as well, in case the page disappears